How to get the WorldEdit Mod:
- Go to the worldedit page in curseforge.
- Click the black “download” button on the right. It should automatically download to your downloads folder.
- Open the download when complete, and finish setting it up.
- Open two side-by-side File Explorer windows.
- In one, open the downloads folder.
- In the other, locate your mods file: In the address bar type in %appdata% and hit enter. Open the .minecraft folder, then open the “mods” folder.
- Drag the worldedit file from your downloads folder into your mods folder.
Now when you open your java edition of Minecraft, worldedit will be installed. Because it does not change any items, you should have it in all of the worlds you already had created.
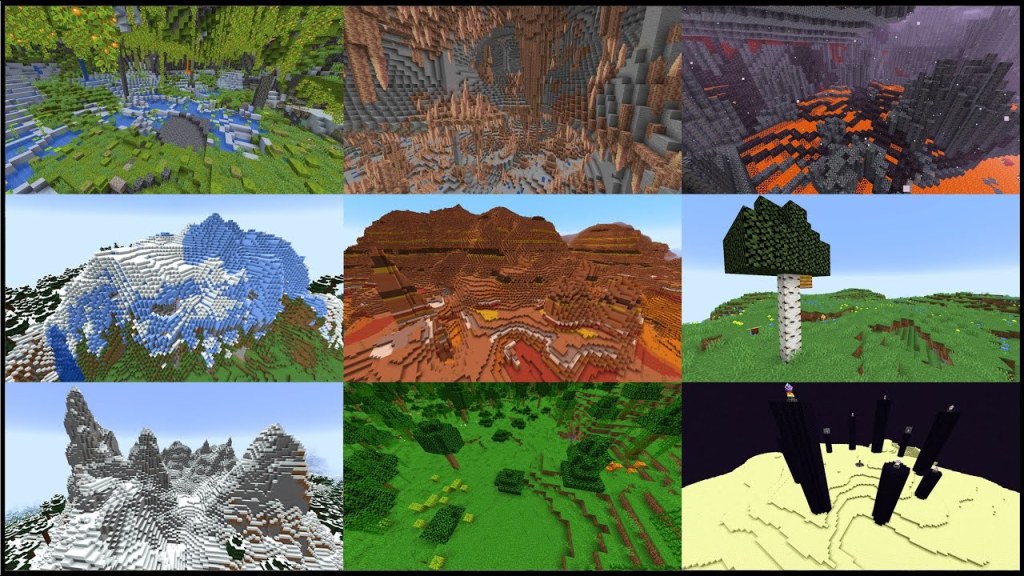
How to Change Biomes using WorldEdit Mod:
NOTE: Cheats must be enabled in your world for WorldEdit to work!
- Type //wand and hit enter. An axe will appear in your hand. This is your wand!
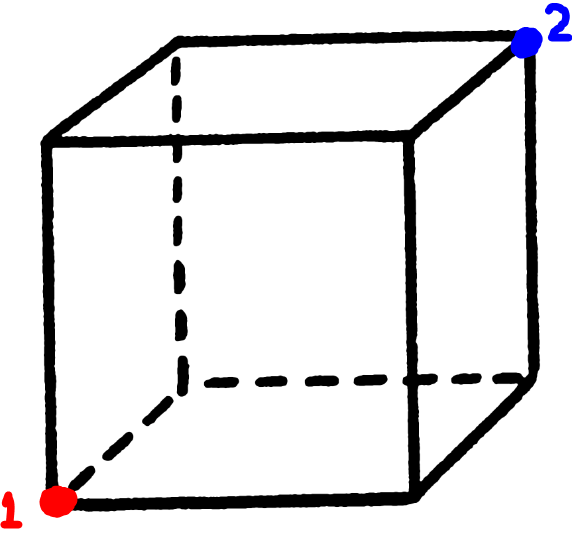
- Choose the area you want to be changed into a new biome, in the shape of a cube. Left-click a block to choose as point #1, and Right-click a block to choose as point #2. Point 1 and 2 should be exact opposite corners from each other; so if point 1 is in the front left bottom, point 2 needs to be the back right top. Make sure your selection is 3D, as many biomes need vertical space to exist as well.
- 3. Type //setbiome [mod it’s from]:[name of biome]
- For example, //setbiome minecraft:savanna
- 4. Leave your world and come back to see changes!
What does this change?
- The color of the grass
- The color of water
- The biome name that appears when you walk through it (if you have applicable mods installed)
